Turn a photo into a 3D model with AI: what to shoot, what you get
Image-to-3D models turn one photo or a few into a mesh file. How to shoot the object, which settings shape the file, and what the model has to guess.
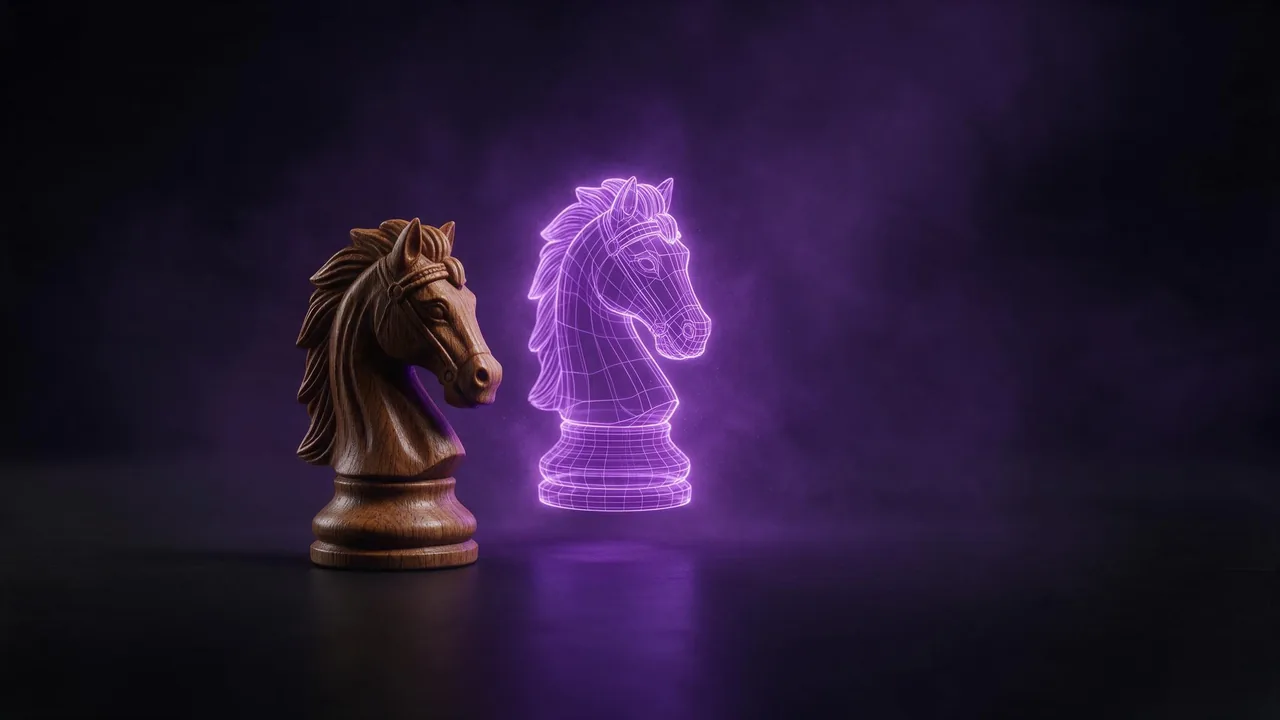
The first surprise with image-to-3D is that the result is not a picture. You upload a photo of a chess piece, a toy or a shoe, and what comes back is a file: a mesh with a surface texture, the kind of thing a game engine, a 3D viewer or a slicer for a printer opens. In the studio it shows up in your feed as a card that says 3D model and the file format, with a Download button. There is no spinning preview in the studio, so the first time you really see your model is in your own 3D software. Knowing that changes how you shoot the photo and how you pick the settings.
Who this is for
- Game and app makers who need props and background objects fast, and will clean them up anyway.
- Shop owners who want a 3D view of a product next to the photos.
- Hobbyists with a printer who want a figure or a replacement part to start from.
- Designers blocking out a scene with stand-in objects before anything is modelled properly.
If you need exact dimensions for a part that has to fit something, this is a starting shape, not a measurement. More on that at the end.
Shoot the photo for the model, not for a feed
The model reads the shape from the outline and the shading, and it paints the surface from the pixels it sees. So the photo that works is plain, even and boring:
- One object, whole, in frame. Nothing cropped off, nothing standing in front of it, a little space around the edges.
- A plain background. A sheet of paper or a bare wall. Some models keep the transparency of a cut-out picture, so a product shot with the background already removed is a good input too.
- Soft, even light. Hard shadows and bright reflections get painted into the texture as if they were part of the object. One model even has a setting to remove baked lighting, which tells you how common the problem is.
- A three-quarter angle. Straight-on photos hide depth. A view from slightly above and to the side shows the front, one side and the top at once.
- Sharp and well exposed. Blur becomes a soft, lumpy surface.
No photo yet? An AI still works as well, as long as it follows the same rules. Ask for the object alone on a plain light-grey background in soft studio light; the product photo guide has the wording.
One photo or several
From a single photo, the model has to invent the back. It does that well for symmetrical things (a vase, a mug, a chess piece) and less well for anything whose back is different from its front. Several models take more than one picture: the multi-view ones ask for two to four photos of the same object from different sides, in a set order such as front, left, back, right, and others accept a handful of reference images in any order. Same light, same distance, same background in every shot. When the back matters, this is worth the extra photos.
The settings that change the file
Open Advanced on a 3D model and you will see options that sound technical but map to plain choices. Not every model has every one; these are the ones you will meet most:
- Polygon or face count. How many faces the mesh has. High for close-up renders, low for a game or a web viewer where the file has to stay light. Some models also offer a low-poly mode.
- Quad or triangle topology. Quads are easier to edit and sculpt later; triangles are what most game engines use in the end. Pick quads if you plan to keep working on the model.
- Texture and PBR. The texture is the painted surface. PBR adds the extra maps (roughness, metalness and so on) that let the object react to light properly in a 3D scene. Switch it off only if you will texture it yourself.
- File format. At least one model lets you choose GLB, USDZ, FBX, OBJ or STL. GLB is the safe default for the web and most viewers, USDZ for phone AR, STL for a printer.
- Symmetry, size and orientation. Symmetry helps with faces and vehicles, a real-world size option scales the object to plausible dimensions, and an orientation option turns it to match your photo.
Characters: pose and rigging
For a person-shaped or creature-shaped character, look for a pose option. A neutral A-pose or T-pose, arms out, is what animation tools expect, and a model that generates in that pose saves you re-posing later. At least one model can also rig a humanoid character automatically and apply simple walk and run animations, which is enough to test a character in a game scene. A character drawn in a dynamic pose in your picture will not always come out neutral, so a front view with the arms slightly away from the body works best as input.
What image-to-3D cannot do
It cannot see what the photo does not show. Hidden sides, the underside and the inside of a cup are guesses, and so are thin parts like straps, antennas and the gap between fingers, which often come out fused or missing. Glass, mirrors and chrome confuse the shape because they show their surroundings instead of themselves. Small text and logos on the surface turn to smudges. Sizes are plausible, not measured: a part that must fit a real hole needs to be checked and fixed in CAD or a mesh editor. A file meant for printing should be checked in your slicer before you print it. And since the studio has no 3D viewer, every check happens after you download.
There is also the other direction: some models build a mesh from a text prompt alone, listed as 3D from text. Our post on writing image prompts applies there too: name the object, its material and its style. When your photo is ready, open the studio, pick an image-to-3D model, and add the photo with + Image.
Questions
Can AI turn a single photo into a 3D model?
Yes. Image-to-3D models take one photo and return a textured mesh file. The sides the photo does not show are invented, so use a multi-view model with several photos when the back matters.
What file do I get from image-to-3D?
A 3D file, not a picture. The studio card shows its format and a Download button. Some models let you choose the format, for example GLB for the web, USDZ for phone AR or STL for printing.
Can I 3D print a model made from a photo?
Often, as a starting point. Choose STL where the model offers it, then check the mesh in your slicer, since thin parts and hidden sides are guessed and sizes are not measured.