From a rough sketch to a finished AI image with an edit model
Turn a pencil sketch or a block-in into a finished picture: prepare the drawing, say what each shape is, work in passes and know where the model will redraw.
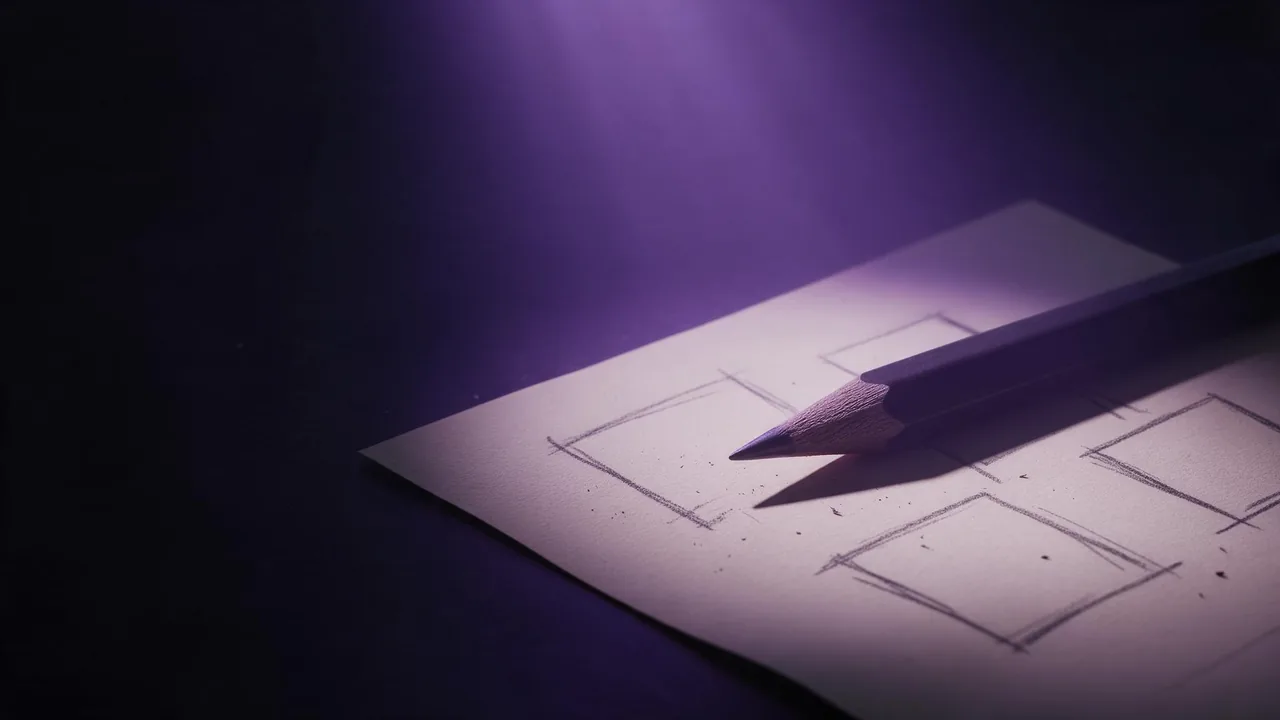
You have the picture in your head and about ninety seconds of drawing skill: a few boxes for a room, a stick figure on a rock, an arrow for where the light comes from. Describing that in words alone keeps losing the one thing you cared about, which is where everything sits. A sketch fixes that part. The trick is to let the drawing carry the layout and let the words carry everything the drawing cannot, which is material, colour, light and mood. Here is how we do it with an image edit model in the studio, in four short passes.
Pass 0: make the sketch readable
A model sees your drawing as a picture, not as intent. What helps it is clarity, not talent. Draw dark lines on a plain light background, close your shapes, and keep each object separate from its neighbours instead of letting them overlap in a scribble. Photograph or scan the page straight on, with even light, so there is no shadow of your hand across the corner. Crop it to the shape you want for the result, because a new shape forces a new layout; the aspect ratio guide has the shapes for each screen.
Do not polish it. A tidy sketch with six objects beats a beautiful one with sixty. If you catch yourself shading, stop: shading is the job of the next pass.
Pass 1: name every shape
Open the models page, filter for the image-to-image type and choose an edit model. Attach the sketch with + Image in the composer. Now the prompt does the work the drawing cannot: it says what each shape is. Go left to right, or foreground to background, and use the plain words you would use to a person looking over your shoulder.
Turn this sketch into a photograph. The large rectangle on the left is a tall window with daylight coming in. The round shape in the middle is a wooden table with a white bowl on it. The tall shape on the right is a green armchair. Keep the layout and the proportions of the sketch. Soft morning light, quiet apartment, natural colours.Two habits make this pass work. Say what the picture should become (a photograph, an oil painting, a flat illustration), because the model otherwise has to guess how finished to make it. And add a lock line about the layout, as the edit prompt guide explains: without it, a model happily moves the table to a place it likes better.
Pass 2: judge the layout, ignore the details
Look at the first result for one thing only: did the big shapes land where you drew them? Do not judge faces, textures or the bowl yet. If the layout is right, keep going. If the table slid to the right, the fix is in the words ("the table stays exactly in the centre of the frame, as drawn"), or in a clearer sketch, not in more detail. If the layout is wrong twice in a row, try a different edit model before you try a third prompt, because models differ a lot in how closely they follow a drawing.
Pass 3: one change per round
Now the picture is a normal image, and normal edit rules apply. Take the result you like, download it from the session feed or your library, attach that file instead of the sketch and change one thing: the wall colour, the chair material, the time of day. Order the rounds big to small, structure first, then colour and material, then light, then small fixes. Keep every file you liked, so a bad round three sends you back to round two and not to the start.
When a reference works better than a sketch
A sketch gives a layout. If what you want to hold steady is a look, a palette or a particular object rather than where things sit, attach a reference image to a text-to-image model instead. Some edit models take several pictures at once, so you can attach the sketch for the layout and a second picture for the material of the chair. The model page lists the inputs it accepts, so check it before you plan around two.
What this cannot do
A sketch is guidance, not a template. The model redraws the whole picture and tries to honour your shapes, so thin lines, small objects and exact proportions can shift, and a face you drew in six strokes will be somebody else's face. There is no brush in the studio and no way to paint over only the part you want redrawn; you point at things with words. Lettering you drew into the sketch will usually not survive as lettering, so add text in your own editor afterwards. And every pass is a full render at its own price, shown on the Generate button before you confirm it, so a sketch that needs six passes costs six renders. Test the idea with one pass on a cheap model before you commit to a long sequence.
Questions
Can I turn a pencil sketch into a realistic image?
Yes, with an image-to-image edit model. Attach a clear sketch, say what each shape is and what the picture should become, and judge the first result by its layout.
How detailed should my sketch be?
Not very. Closed shapes, dark lines on a plain background and few separate objects work better than shading or fine detail, which the next passes add.
Will the model keep my layout exactly?
Not exactly. It redraws the whole picture and tries to follow your shapes, so say in the prompt what must stay in place and try another edit model if it keeps moving things.
Can I add a second image besides the sketch?
On models that accept several inputs, yes, for example a material or a style example. The model page lists how many pictures it takes.