How to make an animatic from an AI storyboard
Animate one or two key frames, hold the rest as still frames, and test timing and story before you pay for a full production. A step list and the limits.
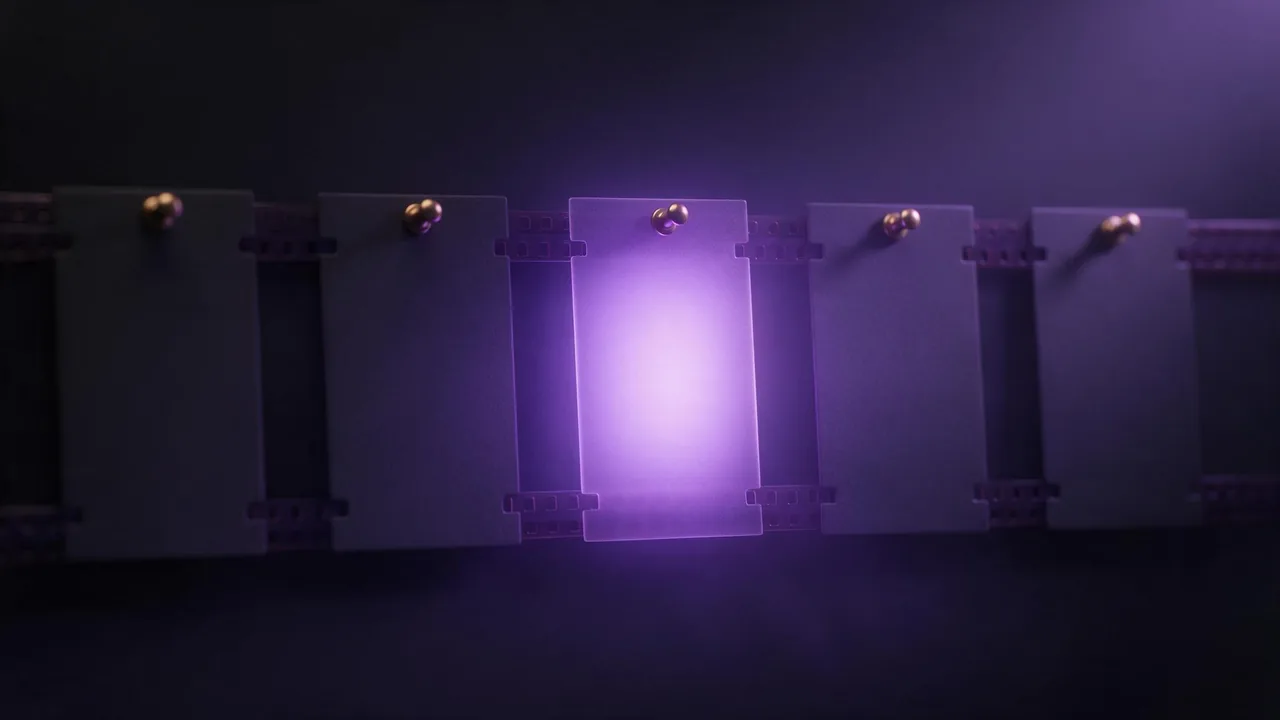
An animatic is a storyboard that has been given a clock. The frames play in order, each for as long as the shot will last, so you can feel the pace before anything real is filmed or animated. Nobody needs it to be pretty. It has to answer one question: does this story work at this speed?
That makes it cheap to build with AI, because most of an animatic is not motion at all. It is stills held on screen. Here is the version we would make in the studio in an afternoon, and the three jobs it is good for.
What an animatic is for
- A pitch. A client or a producer understands a thirty-second moving sketch faster than a ten-page treatment.
- A timing check. A joke that needs a beat of silence, a reveal that comes too early: you only find these when the frames run against a clock.
- A sign-off. "Yes, this is the film" is a decision that costs nothing now and a great deal after the shoot. The animatic is what people sign.
Step 1: Start from four to six stills
Do not begin with video. Begin with the board: four to six frames that carry the story from first beat to last, one idea each. If you do not have them yet, the storyboard and mood board guide shows how to render a matching set. Draft stills on Still Lite, from €0.30 each, are plenty here. Re-render a frame the moment the story reads wrong, because a still is the cheapest thing in the whole job to throw away.
Step 2: Choose the one or two frames that must move
Ask of each frame: would the story be weaker if this one stayed frozen? Usually the answer is yes for the opening, because motion sets the mood, and for the moment the story turns. Everything else can stay a held frame. A held frame in a pitch reads as a held frame in the finished cut, and nobody objects to it.
Animate those frames with an image-to-video model: attach the still as the start frame and describe only the motion. The photo to video guide covers the setup, and the motion prompt guide lists the camera words that behave.
Slow push-in on the lighthouse keeper at the lamp room window, the beam sweeping across the glass, sea mist drifting outside, no camera shakeKeep these clips short. 5 seconds on Motion Turbo, from €6.30, shows how a shot will breathe. Longer clips exist, up to 30 seconds on some models, but the longer the render, the further the motion can wander from the frame you started with. If the picture has parts that must not shift, say so with the method in what must not change.
Step 3: Set the timing on paper first
Before you open an editor, write a timing line for each frame: its number, how long it holds, and what is said or heard over it. Seconds, not frames. A rough rule that works for most short pieces is that a wide establishing shot needs a little longer than a close-up, because the eye has more to read. Write the total at the bottom. If the number is wrong for the slot you have, you have found the first problem for the price of a pencil.
Step 4: Cut it together in your own editor
This is where the studio stops and your editor begins. Download the stills and the clips, drop them on a timeline in the order of the board, and set each still to the length on your timing line. Put the moving clips where their frames sit. Add a scratch voice or a temporary music track you already own, and play it through.
Step 5: Change the board, not the film
Now the animatic earns its keep. A shot drags, so cut a frame. The ending lands too fast, so add a held frame. A client dislikes the third image, so render a new still and swap it in. Each of these is a few minutes and a small render, where the same change after production would be a reshoot. Run two or three rounds, and only when the story and the timing hold do you commit to the expensive version.
If the full film will be joined from several matching clips, the longer video guide picks up where this one ends.
What the studio will not do here
- It is not an editor. There is no timeline, no way to set a frame to a length, no way to join clips into one file. The editing is done outside, in a tool of yours.
- It does not time anything to sound. Nothing in the studio lines a picture up with a beat or a line of dialogue; you do that in your editor against your own track.
- Motion can drift. Faces, hands and small objects shift during a clip, and a key frame can come back moving in a way you did not ask for. Keep clips short, check at full size, and re-roll.
- Every render is a separate job. Four stills and two clips are six renders, each with its price on the Generate button before you confirm.
When the board is ready, look through the models for an image-to-video model that takes a start frame, then open the studio and animate your opening frame first.
Dotazy
What is the difference between a storyboard and an animatic?
A storyboard is a set of still frames in order. An animatic plays those frames in time, with each one held for the length of its shot, so you can judge pace and story as well as composition.
Do I need to animate every frame of an animatic?
No. Most of a good animatic is held stills. Animate the one or two frames where motion sets the mood or carries the turn of the story, and hold the rest.
Can the studio put my animatic together?
No. It renders the stills and the short clips. You assemble them on a timeline in your own video editor and set the timing there.