AI tattoo design concepts: flash sheets, clean linework and a stencil-friendly brief
Use AI to explore tattoo ideas: prompt a flash sheet, keep lines bold and stencil-friendly, mock up placement without a model, then hand it to an artist.
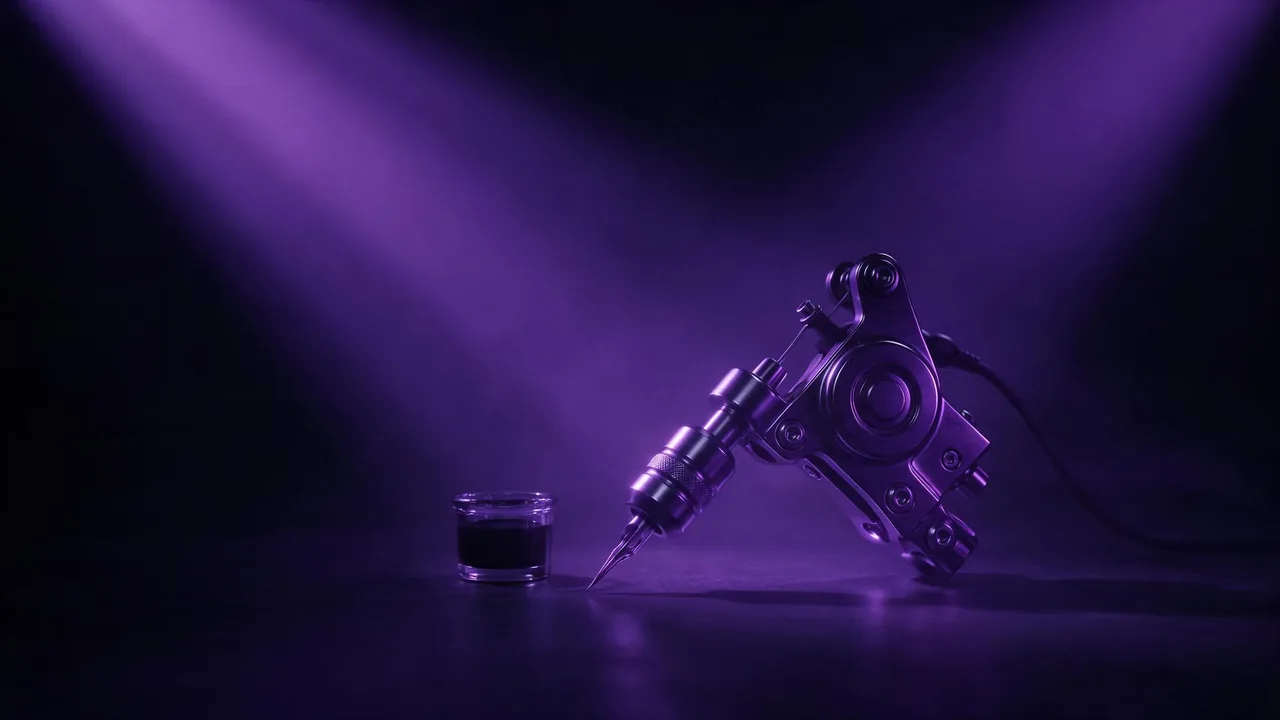
A tattoo idea usually starts as a feeling and a reference folder: a swallow, something botanical, a dagger maybe, "but not cheesy". An image model is a quick way to turn that folder into twenty concrete options you can point at. What it is not is a tattoo artist. Think of everything below as a way to arrive at a consultation with a clear brief and a handful of sketches, not with a finished stencil.
Start with a flash sheet, not a single design
Flash is the old shop-wall format: a page of small, finished designs around one theme, each standing on its own. Asking for a sheet instead of one picture is the cheapest way to explore, because one render shows you eight or ten variations of an idea and you only have to say which ones you like. Name the format, the theme, how many pieces, and that they must not touch:
Traditional tattoo flash sheet, nine separate small designs on the theme of the sea: a swallow, an anchor with rope, a lighthouse, a wave, a ship in a bottle, a compass rose, a jellyfish, a shell, a dagger through a wave. Bold black outlines, flat fills in red, yellow and green, each design isolated with empty space around it, plain white paper backgroundPick the two or three you would actually wear and move on. Do not try to perfect the whole sheet; it is a menu.
Linework and blackwork: words that change the result
Tattoo styles are mostly about line and fill, so describe those directly rather than leaning on the style name alone. The general idea of naming a medium is covered in the art style post; for tattoos, these phrases carry most of the weight:
- Fine linework: "single-weight thin black lines, no fill, no shading". Elegant on paper, the most demanding style on skin.
- Bold traditional: "thick black outline, limited flat colour, simple shapes". The most forgiving style, because it was built for the medium.
- Blackwork: "solid black areas, high contrast, negative space shapes". Ask for "solid black fill" or the model tends to add soft grey.
- Dotwork and ornamental: "stippled shading in dots, symmetrical mandala pattern". Say "symmetrical" twice if the halves drift.
- Illustrative: "etching style, cross-hatching for shadow". Good for animals and botanicals, but hatching can get too dense to tattoo.
Blackwork tattoo design of a moth with a crescent moon on its back, symmetrical, solid black fill and bold outlines, negative space for the wing pattern, no grey shading, no gradients, centered on a plain white backgroundKeep it stencil-friendly
A design that looks good on a screen can still be impossible to transfer. Artists print a stencil from line art, so the closer your concept is to clean black on white, the more useful it is. Put these constraints in every prompt:
- White background, nothing else. "Plain white background, no paper texture, no shadow". Texture and a drop shadow turn into noise on a stencil.
- Bold, closed lines. "Bold clean outlines, closed shapes, no sketchy strokes". Broken, hairy lines are the first thing an artist has to redraw.
- Limited shading. "Minimal shading, flat black or no fill". Soft gradients do not transfer; they get added by hand later.
- Fewer small details. Lines drawn very close together can blur into each other on skin over the years. If the design only reads at full screen size, it is too busy.
- No lettering from the model. Image models still misspell, and a misspelled tattoo is permanent. Leave space and have the artist letter it.
Two kinds of model in the catalog help here. Some text-to-image models generate straight onto a transparent background, and the vector models (type "vector" into the search on the models page) return an SVG made of real paths, which an artist can resize without blur. A vector result is a clean starting file, not a finished stencil: check the line weights at the real size before you trust it.
Mock up the placement without a model
Seeing the design where it will sit changes decisions: a long piece that looked balanced on a page can feel cramped on a forearm. You do not need a photo of anyone for this. Generate a plain line drawing of the body part, an outline of a forearm or a shoulder blade like a page from an anatomy sketchbook, or a close-up of bare skin texture with nothing else in the frame. Then choose an edit model that takes several pictures, attach the outline and your design, and describe the job:
Place the moth design from the second image on the inner forearm in the first image, centered lengthwise, about two thirds of the forearm's width. Keep the design's lines and proportions exactly as they are. Keep the outline drawing unchanged.Treat the mock-up as a rough check of size and direction only. A flat outline does not bend like an arm, and the model will happily curve or simplify your lines while placing them. Real placement is done by the artist with the stencil on the skin.
Iterate in small steps
Once one design is close, keep the wording and change one thing per round: the pose of the animal, thicker outlines, less fill, a different flower. If the model has a seed setting, pin it so the rest of the picture holds still while you change a word; the seed post explains why. If you have a pencil sketch of your own idea, start from that instead, as described in the sketch to image post. The price shows on the Generate button before each run, and drafts on a cheaper model are fine at this stage, since only the idea needs to survive.
Why the artist must redraw it
This part is not optional. An AI image is a picture of a tattoo, not a tattoo design built for skin. A professional artist will redraw it for several reasons:
- Line weight and spacing. They know which lines hold up over the years and which will spread, and they adjust the design for your skin and the spot.
- Flow. A good piece follows the shape of the body, which a flat render cannot know.
- Hidden flaws. Doubled lines, a sixth petal, a line that goes nowhere: small model errors become permanent ones.
- Originality. A model can drift close to an existing artist's flash. The ownership post covers the general rights question; an artist who redraws makes it genuinely yours.
Bring the concepts as references and expect the artist to change them; that is the service you are paying for. Getting tattooed is for adults of legal age where you live, and a reputable studio will ask. When you are ready to try a sheet, open the studio and start with the theme.
Questions
Can I take an AI tattoo design straight to a tattoo artist?
Take it as a reference, not a stencil. Most artists will redraw it to fix line weight, spacing and flow for your body, and many prefer to. Ask first whether they work from client references.
How do I make an AI tattoo design stencil-friendly?
Ask for bold closed black lines, minimal or flat shading, few tiny details and a plain white background. A vector model can return an SVG with clean paths, which is easier for an artist to resize.
Can AI show how a tattoo will look on my arm?
Only roughly. An edit model can place a design on a plain outline or a skin texture to check size and direction, but it cannot show how ink sits in real skin or how a curve wraps. The artist's stencil is the real test.