MiniMax H3 Lite Image to Video: animate a photo
MiniMax H3 Lite turns one photo into a 4 to 15 second clip, with an optional end frame. Which images work, prompts that keep the subject, and the limits.
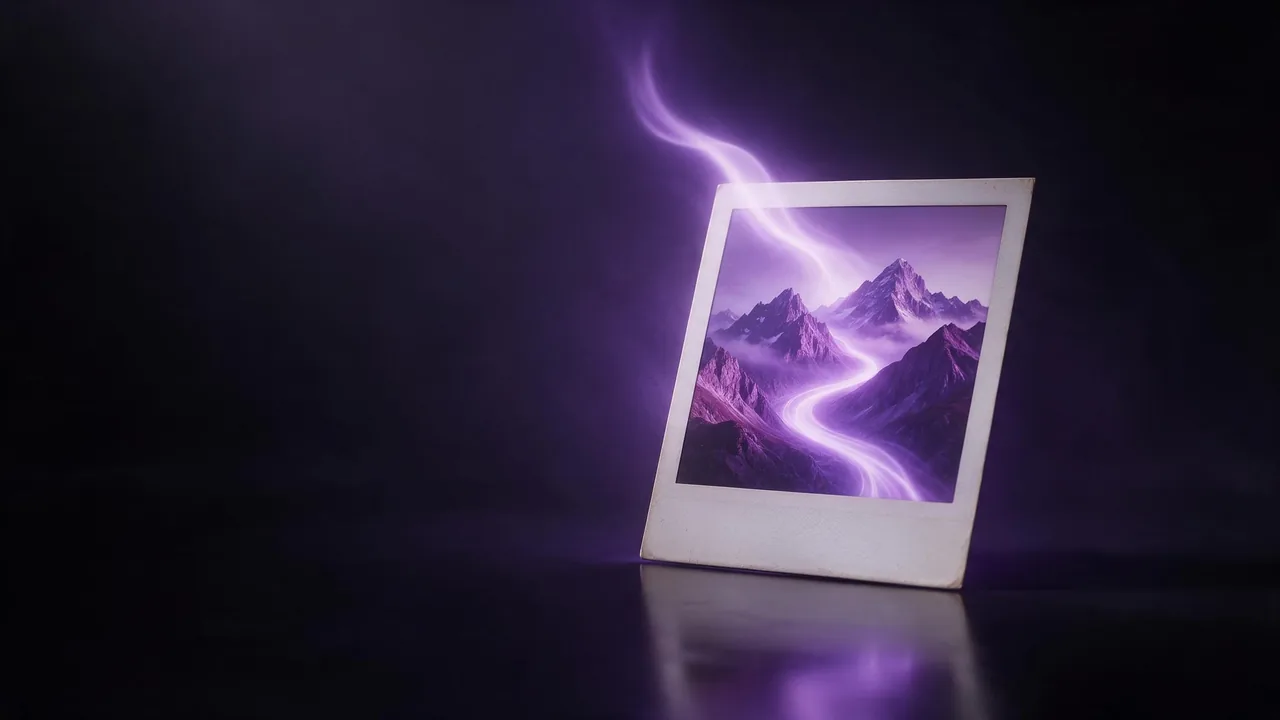
A photo has already answered the hard questions: where the camera is, how the light falls, who or what is in the frame. All that is left to decide is what moves. MiniMax H3 Lite Image to Video takes your picture as the first frame and plays it forward for 4 to 15 seconds. This guide is organised as questions, because that is how people end up using it.
Which photo can I use?
- Size. Between 256 and 5760 pixels on each side.
- Shape. An aspect ratio between 0.4 and 2.5. A wide panorama or a very tall banner has to be cropped first.
- Content. One clear subject does better than a crowd. Tiny faces and small printed text are the first things to wobble.
What else can I set?
A prompt (up to 7000 characters) that describes the motion and the scene. An optional last image, so the clip travels from your first frame to a second one. Resolution, 768p by default or 480p. Duration, 4 to 15 seconds, 5 by default. The settings list has no aspect ratio option.
How do I stop the subject changing?
Say what must stay before you say what moves. A line of protection at the start of the prompt does more than any amount of description afterwards.
Keep her exact face, glasses, clothing, desk and monitor. She reaches for the mouse, but it slides away from her hand by itself. She pauses and looks at it in disbelief, then it slowly slides back as if nothing happened. The camera stays in a clean medium shot with a small sideways follow.Continue pouring sparkling orange soda into the glass. Ice cubes shift, bubbles rise around the citrus slices, a few droplets slide down the glass. Smooth macro camera move. Keep the orange, mint and cobalt palette.What does the end frame do?
It gives the clip a destination. Use it for a before and after, a door that opens onto a new view, a product turned to its other side. The two pictures need to share a light and a scene, otherwise the model has to invent a bridge between them and the middle of the clip looks like a dissolve. The easy route is to make the second picture from the first with an edit, as in how to write image edit prompts.
Where does this sit among the options?
It is the lighter choice. For motion wording that works across image to video models, see image to video motion prompts; for a face that has to look like a person speaking, animating a portrait goes into it. If you have no picture yet and only an idea, the text to video sibling starts from the prompt alone.
The honest limitation
The motion is invented, not read from the photo, so the longer the clip the more room for a face, a hand or a logo to drift from the original. Fifteen seconds of a close portrait is the riskiest setting; five seconds of a still life is the safest. The settings list has no sound option, and 768p is the top resolution, so keep this for drafts, social clips and web headers rather than a screen-filling finish.
Questions
What size should my photo be?
Anything from 256 to 5760 pixels per side, with an aspect ratio between 0.4 and 2.5. Crop extreme panoramas and tall banners first.
Can I choose where the clip ends?
Yes. Add an optional last image and the clip moves from your first frame towards it.
How long can the clip be?
From 4 to 15 seconds. The default is 5.
Why did my subject change?
The motion is generated, so details can drift, more so over long clips. Put what must stay at the start of the prompt and try a shorter duration.